Understanding planning · UK research
Planning permission drawings: how to read plans
Location plans, floor plans, elevations and sections show different parts of a proposal. Read them together, compare existing and proposed views, and check dimensions and revision dates.
Locate proposed work on site plans
Start by locating the site against roads and neighbouring properties. On English application location plans, the red line identifies the application site. Check the drawing’s key and labels rather than assuming every coloured line means the same thing.
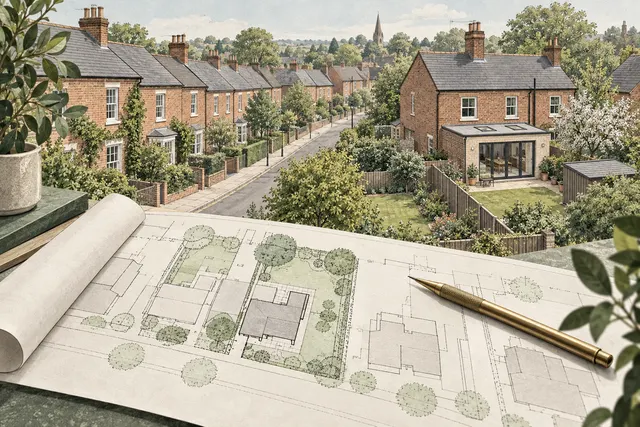
A closer site or block plan helps you see the building’s position, access and surrounding space. Find north, then find your own viewpoint. Check the view labels so you can distinguish the front, rear and sides of the building.
Floor plans, elevations and sections do different jobs
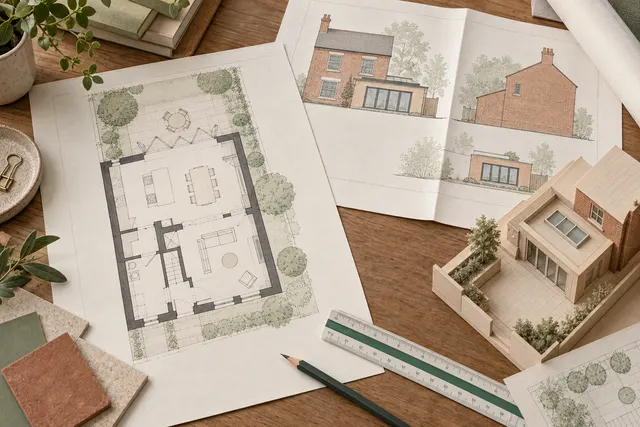
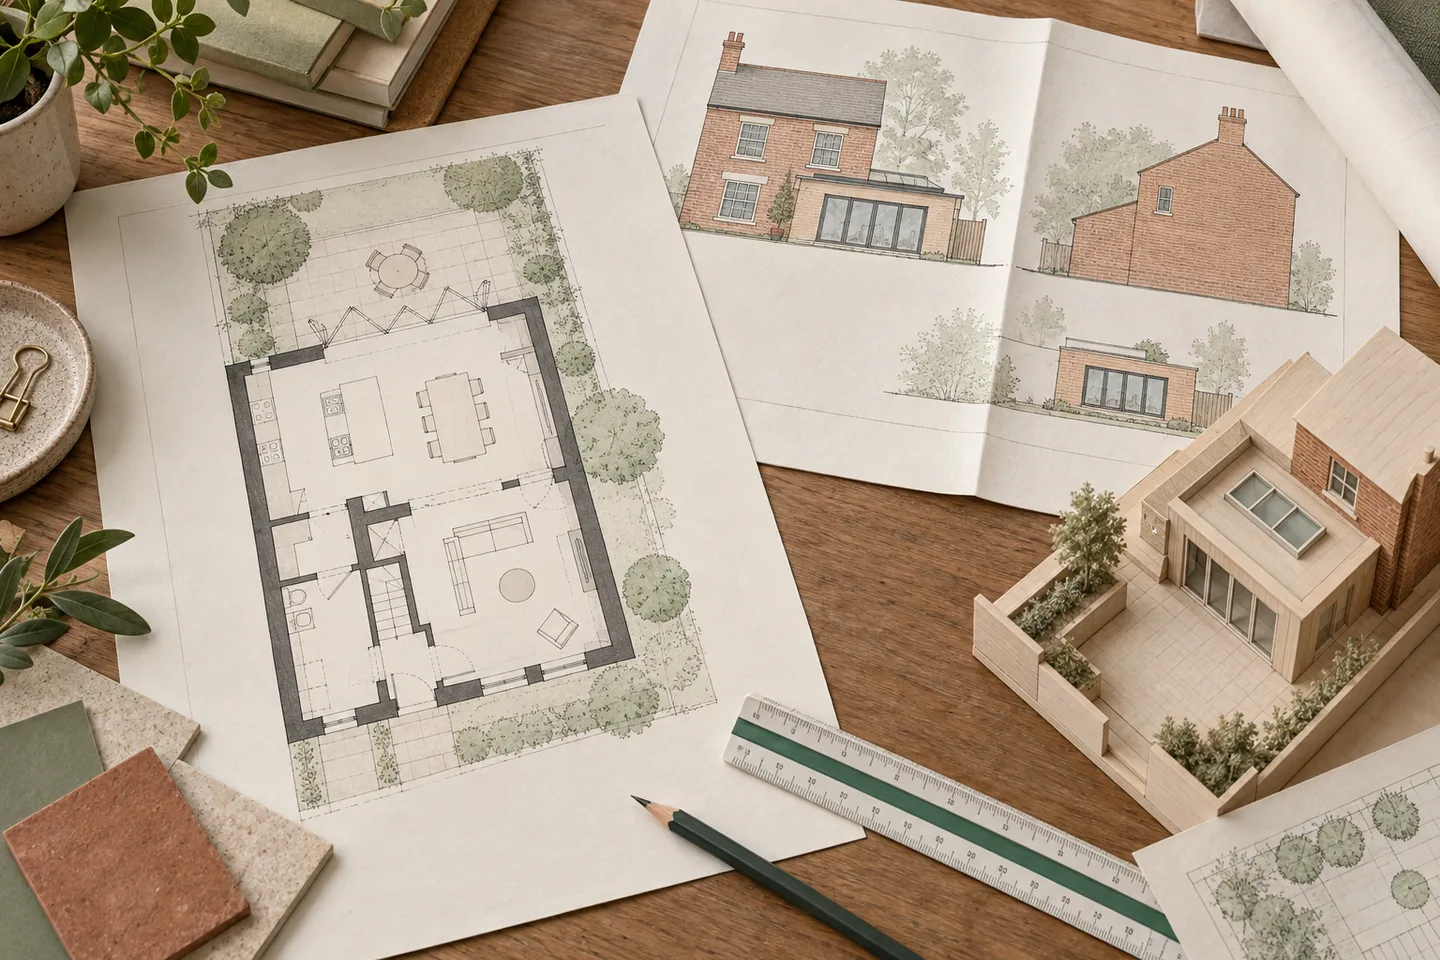
A floor plan is a horizontal view through a level of the building. Use it to follow walls, rooms, doors and windows. Compare existing ground floor with proposed ground floor, then move upstairs.
An elevation shows an outside face. It helps you see openings, roof shape and the relationship between heights. A section cuts through the building and can make changes in floor or ground level easier to understand.
Read these views together. A window position on a floor plan may make much more sense once you find it on the matching elevation. If a view is missing or unclear, note what you need the drawing to show and ask for clarification.
Read dimensions and units
A PDF zoom level is not a scale. Read the dimensions on the drawing and check the units. If you print a plan, resizing the page can make a stated scale unreliable. Do not turn a phone screenshot into a measurement of the distance to a boundary.
Compare the same features in each version: outside walls, roof ridge, eaves and relevant openings. A short checklist is easier to repeat than trying to absorb the whole sheet at once.
- Drawing number and title
- Existing or proposed view
- Revision letter and date
- Dimensions and units
- Matching view on the other drawing
Check drawing revisions
Look in the title block for a drawing number, revision and date. Keep those details in your notes. If amended plans have been uploaded, check which drawings they replace. For a decided application, compare them with the approved plan references in the decision notice.
When writing a planning comment, name the drawing you mean. “The side window on P03 revision B” is easier to check than “the window in the plans”.
Use application search to find a case, then open the drawings from the official council source. Our document reading guide puts the plans in context.
List drawings and revision numbers
Start with a list of sheets rather than trying to absorb the entire proposal at once. Record each drawing number, title, revision and date. Group existing drawings together, then proposed drawings of the same view. A document list may display filenames in upload order, but that order is rarely the best route through the design.
Look for duplicate titles. Two files called “proposed elevations” may be different revisions, different sheets or different parts of the same scheme. Open the title blocks and identify the distinction. If a drawing number is unreadable, note that problem instead of inventing a label that will later be mistaken for the original reference.
Add a short description of what each sheet helps you answer. A location plan identifies the land; a site plan helps explain position and access; a floor plan shows layout at a level; elevations show outside faces; sections help explain heights and internal relationships. This gives you a practical reading route based on the question you are investigating.
Keep the index beside the council record. When amended material appears, add it without deleting the earlier entry. Mark which version you understand to be current and what evidence supports that understanding. For a decided case, check the decision notice’s approved plan references. The newest upload is not automatically the approved drawing.
| Drawing | Use it to understand | Read alongside |
|---|---|---|
| Location plan | Which land the application concerns | Address, proposal and the plan’s boundary key. |
| Site or block plan | Building position, access and surrounding space | Location plan, relevant dimensions and current revision. |
| Floor plan | Layout and openings at a particular level | The same level in existing and proposed versions. |
| Elevation | An outside face, openings and roof form | Matching plan, orientation and written dimensions. |
| Section | A cut through levels, roof or ground relationships | The section line and direction shown on a plan. |
| Detail drawing | A particular feature at closer scale | The wider drawing identifying where that detail applies. |
| Illustrative view | An impression of the proposed appearance | Dimensioned source drawings rather than visual estimation. |
Establish north, frontage and your viewpoint
Find the north arrow where one is shown, then identify a road or feature you recognise. Work out which side of the building faces that feature before reading elevations. Words such as front, rear and side can become confusing on corner sites or buildings with several entrances. A labelled orientation note prevents you switching viewpoints halfway through the comparison.
On the site plan, locate access points, boundaries and neighbouring building outlines. Read the key for different line styles and colours. Do not assume a simplified outline contains every feature of the adjacent property. If a neighbouring window or ground level matters to your question, you may need additional reliable information to understand the relationship.
When comparing a drawing with a photograph, identify where the photographer stood. A view taken at an angle can make distances and heights appear different from an elevation. Use photographs to add context, not to replace dimensions or to declare a precise relationship that the perspective cannot establish.
For an unfamiliar site, sketch a small orientation diagram in your notes with the road, main building and relevant neighbouring plot. It does not need to be to scale. Its role is to keep your reading consistent. Label it as your own sketch so it cannot be mistaken for a source drawing if shared later.
Reading floor plans room by room
A floor plan represents a horizontal cut through a level of the building. Start by tracing the external walls and identifying which level you are viewing. Then locate doors, windows, stairs and internal divisions using the drawing’s conventions. Do not assume every thin line represents a wall; furniture, fittings and overhead features may be drawn differently.
Compare existing and proposed versions at the same level. First look for changes to the footprint, then internal layout, then openings. This sequence helps you distinguish an extension from a rearrangement inside the existing walls. If you move straight to room labels, you may miss a boundary-facing opening or an altered access route.
Room labels explain intended layout but do not answer every planning or regulatory question about use. A label such as study or bedroom is information on a drawing, not a complete assessment of the project. Read the proposal and relevant documents alongside it. Avoid treating a renamed room as proof that the physical design has or has not changed.
Stairs can help you connect levels, but follow the labels and direction indicators carefully. A stair shown on one floor may not explain the full arrangement above it. If a loft or split-level area is involved, a section can be particularly helpful. Keep unresolved relationships in your question list instead of trying to infer a three-dimensional building from one incomplete view.
- PlanA view from above explains footprint and openings.
- ElevationAn outside face explains roof form and height relationships.
- SectionA cut through the building explains levels and depth.
These simplified shapes illustrate how views differ. They are not measured plans, an approved design or a permitted development guide. Read dimensions and revisions on the actual source drawing. A picture that helps you understand a view cannot establish distances, boundaries or compliance for a real project.
Reading elevations without being misled by presentation
An elevation shows one outside face of a building. Identify which face you are looking at and compare it with the floor plan. Locate windows and doors by their position relative to corners and adjoining walls. If you cannot reconcile an opening between views, check whether the drawings belong to different revisions before assuming a design error.
Look at roof shape, ridge and eaves relationships, material notes and the position of new work against existing construction. A change that looks small in plan may be more apparent in elevation. Conversely, a bold outline or shaded material can make a modest feature appear visually dominant without changing its actual dimensions.
Read written dimensions and level labels rather than judging height solely by how large something looks on the page. Existing and proposed elevations may have been arranged differently or printed at different sizes. If the drawing has been resized, a stated scale may no longer be reliable for direct measurement from the copy you are viewing.
Context elevations can help show neighbouring buildings, but check the source and level of detail. A simplified neighbour outline is not necessarily a measured survey of every opening and roof feature. Describe what the drawing shows, and identify where more information would be needed for a precise assessment of privacy, daylight or another effect.
Use sections to understand levels and depth
A section represents a cut through the building or site. Look for the section line on a plan and the direction in which the view is drawn. This tells you which slice of the proposal you are reading. Without that step, it is easy to mistake a section through the middle of a building for a view of its outer wall.
Sections can explain floor-to-floor relationships, roof form and changes in ground level. They are especially useful where a site slopes or a design includes a lower level that is not obvious from the front. Read any level markers and dimensions carefully, and ask for clarification if the reference point used for them is unclear.
Compare the section with the relevant plan and elevation. A roof arrangement that is confusing in elevation may become clear in section, while a section alone may not show how far a feature extends across the building. Each view answers part of the question. The strongest understanding comes from checking their relationship rather than choosing one as the whole story.
Do not use an illustrative section to make a technical conclusion beyond the information it provides. If you need to assess a specific effect or compliance issue, obtain appropriate advice using the relevant drawings and reliable site information. Your initial reading can identify the question and the evidence needed without pretending to settle a specialist assessment.
Check scales, units and written dimensions
A scale describes a relationship between the drawing and the represented object at an intended output size. A PDF displayed at 125 per cent or a print automatically fitted to a page may no longer support direct measurement using that stated scale. Read written dimensions first and check any scale bar or instructions before trying to measure a copy.
Units matter as well. Do not assume an unexplained number is metres or millimetres. Find the drawing notes and check how dimensions are presented. If two sheets use different conventions, record that before comparing them. A misplaced unit can create an enormous apparent difference where the design has not changed at all.
Avoid chaining rough measurements. If you estimate a building width from a screenshot and then estimate a separation distance using that width, the uncertainty compounds. The result may look precise because it has a decimal place, but the underlying method remains approximate. Keep estimates clearly labelled and do not use them as established facts in a planning comment.
If a measurement is central to your question, identify the reliable source you need. That may be a dimensioned plan, survey or clarification from the designer. The commenting guide explains how to raise a specific drawing concern without making unsupported technical claims. Asking for clarification can be more useful than submitting an uncertain calculation.
Worked example: comparing an amended extension
Imagine a fictional application where revision A shows a rear extension with a pitched roof and revision C shows a different roof form. Start by finding the same plan and elevation in both versions. Record the drawing identifiers so you know the comparison concerns the same part of the building and not two different sheets.
Compare the footprint first. Has the external wall line changed, or only the roof? Then compare openings and dimensions. Finally, inspect the elevation and section for the roof relationship. This order prevents a visually striking roof change from distracting you from a smaller but relevant movement of a boundary-facing wall or window.
Make a short change table with feature, earlier drawing, later drawing and question. Use neutral descriptions such as “side opening omitted on revision C” or “roof profile differs; check dimension note”. Avoid language that assumes a design motive. Your task is to identify changes that can be verified from the documents.
If the application has been decided, check which revision is named in the notice before using your comparison to describe the permission. If it remains live, check the current council consultation information. A revised drawing may change the point you want to make, so update any draft comment rather than sending observations about a superseded feature.
Make annotations another person can understand
Annotate a copy, not your only original. Use short labels that point to a specific feature and explain the question. A circle around half the building with “problem” written beside it is difficult to act on. A label identifying a window, drawing reference and relationship with a neighbouring space is much more useful.
Keep your own measurements and observations visually distinct from source information. State when an arrow or note is yours. If a screenshot crops the title block, add the drawing number and revision to your accompanying text. Someone receiving the image should be able to find the full original without guessing which file it came from.
Use a small number of annotations per image. If you have several unrelated questions, separate them rather than covering the plan in overlapping arrows. This makes it easier for an officer or adviser to answer each point and reduces the chance of a response addressing only the most visible mark while missing the rest.
Finish with a written summary of the question and relevant drawings. The image should support that explanation, not replace it. Keep source links and dates in your research note, and revisit them if new revisions appear. Good drawing research is traceable: another person can follow the same views and understand how you reached the question you are asking.
- Identify the view, drawing number, revision, date and units before comparing sheets.
- Follow external walls and openings before relying on room labels or shading.
- Read plans, elevations and sections together to understand the same feature.
- Keep screenshots, annotations and estimates clearly distinguished from source drawings.
Can I use a sales floor plan instead of planning drawings?
A sales floor plan can help you recognise rooms and explain a viewing, but it has a different purpose from the drawings submitted with an application. Check its notes and do not assume it represents the approved design, a measured survey or the building at the date of an earlier permission. Keep it labelled as sales information when comparing it with council records.
For planning research, locate the actual application drawings and read their numbers, dates and revisions. Compare the relevant features rather than expecting two plans prepared for different purposes to match line for line. If a difference matters, describe it to your adviser with both sources attached. Avoid measuring compliance from a marketing plan or treating a missing feature on it as evidence that the feature does not exist. The comparison should identify a question worth checking, not replace the reliable drawings or survey information needed to answer it.
Sources & scope
This is a guide to researching UK planning records. Council terminology and planning procedures vary between nations. For a decision about your own project, check the current official guidance and the council record.