Understanding planning · England
Permitted development extensions: rear and side extension rules
Some house extensions can be built under permitted development rights without a householder planning application. The whole scheme must meet the relevant limits and conditions, and some larger rear extensions need a prior approval process before work starts. Begin with the property’s eligibility and original shape, then check the measurements.
Start with the house, then the extension
A three-metre extension can still need a planning application. That surprises people because depth is often the first number mentioned in a sales brochure or building quote. It is only one part of the assessment. Property type, previous additions, height, position, materials and restrictions can all affect whether permitted development is available.
Householder rights apply to qualifying houses, with exclusions and limitations. Flats and maisonettes do not receive the same Part 1 rights. Houses created through certain conversion or new-dwelling permitted development routes can also be excluded. Check how the building came into residential use, not simply how it looks from the street.
Read earlier planning conditions and investigate any relevant Article 4 direction. Designated land can impose further restrictions. If you are extending a listed building, the separate listed building consent question needs attention too. A standard supplier questionnaire may help collect facts, but it should not replace a review of the property’s actual history.
The detailed starting point is the government’s householder technical guidance, especially Class A. Use the current rules for the whole proposal. This guide explains the main checks and design conversations, rather than declaring a particular extension lawful from one measurement.
Draw the original house before designing more space
For these rules, the original house generally means the house as first built, or as it stood on 1 July 1948 if it predates that date. An extension added by a previous owner is not part of that baseline merely because it was there when you moved in.
This matters because projection and other limits are tested against the relevant original walls. A kitchen addition already extending behind the original house can affect how much further you can go. Demolishing an old conservatory does not necessarily give you a fresh allowance measured from where its doors used to be.
Ask for a survey drawing showing original, existing and proposed outlines in distinct line styles. Find old approved plans, historic sales particulars or other reliable evidence, and explain any uncertainty about the original form. A stepped rear elevation, attached garage or side wing may need more careful interpretation than a simple rectangular house.
For a fictional example, a buyer sees a shallow lean-to and plans another three metres beyond it. On the measured drawing, the lean-to already projects from the original rear wall. The designer now needs to assess the resulting enlargement from the correct baseline. The discovery may change the design or application route, but it is far cheaper to make it before ordering structural steel.
- Original wallFind the relevant wall of the original house.
- Earlier additionInclude relevant previous enlargement in the assessment.
- Proposed outlineShow the resulting building, not only the new strip.
- Boundaries and levelsCheck dimensions in plan and section.
Schematic explanation only. Establish the original house and measure the actual site before assessing Class A.
Ordinary single-storey rear extensions: the headline limits
Under the standard Class A rear projection limits, a single-storey extension can generally project up to four metres beyond the original rear wall of a detached house, or three metres for other houses. The maximum height is four metres, with other height and boundary conditions also applying. These figures are screening checks, not a complete approval checklist.
If any part comes within two metres of the curtilage boundary, the extension’s eaves cannot exceed three metres. The extension must also comply with the relationship to the existing house’s roof and eaves. Ask your designer to identify the eaves point on a section drawing; it may not be the point a casual reader assumes from a roof-edge photograph.
The location of the wall and boundary should be measured rather than estimated from a phone map. For sloping ground, the applicable height measurement needs attention. A nominal product height may not describe the completed building once the base, roof construction and levels are accounted for.
Check every relevant limitation and condition even where the extension sits comfortably inside the headline depth. An extension that clears the rear projection test can still fail because of side projection, coverage, materials or the availability of the right itself. The Planning Portal extension overview provides a compact companion to the government’s detailed diagrams.
| Extension type | Main dimensional checks | Additional route check |
|---|---|---|
| Single-storey rear | Normally 4 m projection detached; 3 m other houses; 4 m overall height | Boundary, existing heights, coverage and other limits |
| Larger single-storey rear | Up to 8 m detached; 6 m other houses | Eligible land and prescribed prior approval process |
| Single-storey side | Up to half original house width and 4 m high | Designated land, highway frontage and other limits |
| More than one storey at rear | Up to 3 m projection; at least 7 m to opposite boundary | Roof, windows, designated land and other limits |
Larger rear extensions need a separate prior approval check
For eligible single-storey rear extensions outside the excluded designated land and Sites of Special Scientific Interest, the larger home extension route can allow up to eight metres of rear projection for a detached house or six metres for other houses. It is subject to the prescribed prior approval process and the remaining Class A requirements.
Do not treat those larger numbers as an automatic building allowance. The authority must be notified through the proper application process before work starts. Neighbour consultation forms part of that route, and where objections are received the authority assesses the relevant amenity impact. This is a specific statutory process, not an informal conversation over the garden fence.
The process has a 42-day framework, but the legal position at the end depends on a valid submission, the authority’s response and compliance with the applicable provisions. Read the current prior approval explanation and the actual notice. Do not start by counting 42 days from an incomplete upload and assuming that silence settles every requirement.
A neighbour’s agreement can help maintain a good relationship, but it does not replace the process. Likewise, neighbour objections do not automatically convert the proposal into a refusal. Give the authority accurate dimensions and contextual drawings so the relevant effects can be assessed, and keep the written outcome with the scheme you intend to build.
Side extensions: width, height and position work together
A permitted development side extension must generally be single-storey, no more than four metres high and no more than half the width of the original house. Other limitations still apply, including the boundary-related eaves rule and the restrictions concerning elevations that front a highway.
Measure the original house width and the proposed side enlargement carefully. An existing side addition can complicate the calculation. A narrow-looking extension photographed from the street may be part of a wider total enlargement when viewed in plan. Ask your designer to show the relevant dimensions and explain the treatment of earlier work.
On Article 2(3) designated land, such as a conservation area, the Class A side extension right is restricted. A scheme may therefore need a planning application even though the same geometry could have a permitted development route elsewhere. That is a property constraint, not something a different roof material can solve by itself.
Corner plots require particular care because a side elevation may front a highway. Do not assume that the elevation with the front door is the only one relevant to the rules. Look at the house’s architectural arrangement and its relationship to the streets, then have any ambiguity assessed before designing tightly around a presumed permitted development envelope.
Wraparound extensions can trigger both sets of rules
A rear extension with a small side return often feels like one coherent kitchen project. For permitted development purposes, it may need to satisfy the restrictions applying to both rear and side enlargement. The label “wraparound” does not create its own relaxed category.
Consider a fictional terraced house with a rear outrigger. The owners want to fill the side return and extend across the back. Their sketch shows only a modest rear projection, but part of the proposal extends beyond a side wall of the original house. The designer must assess the resulting scheme against the relevant provisions together, including the side-width limitation.
This is where a plan is more useful than a list of room sizes. Mark the original walls and trace the new building footprint. Identify which wall each part projects beyond and how the pieces join. If the analysis depends on interpreting a stepped or irregular original house, ask for that explanation in writing.
A householder application may be the sensible route for a design that serves the household well but does not fit permitted development. Avoid distorting the layout solely to preserve a route you have not yet established. Compare a compliant alternative with an application-led design, including cost, space, neighbour effects and the time needed for each.
Two-storey extensions have tighter spatial checks
Class A can provide a route for some extensions of more than one storey, but the restrictions are tighter than for an ordinary single-storey rear addition. The usual rear projection limit is three metres, and the enlargement must not come within seven metres of the boundary opposite the rear wall. Side extensions of more than one storey do not fit the Class A side extension allowance.
Roof pitch should match the existing house as far as practicable. Upper-floor side windows have glazing and opening conditions. Designated land restrictions apply, and all the other relevant limits still need checking. These conditions should be part of the design brief, not discovered when the window schedule is being ordered.
A section through the house and garden can help explain height and levels; a site plan shows the relationship to the rear boundary. Use both. A photograph taken with a wide-angle lens is a poor way to judge whether a scheme is close to a dimensional threshold.
Even where a permitted development route appears available, think about the quality of the resulting rooms and relationship to neighbours. A legally available envelope is not automatically the best layout. Daylight, privacy, circulation and construction cost remain worth discussing with the designer so the project works as a home as well as meeting its planning route.
Coverage, materials and roof details can change the answer
The coverage rule looks beyond the proposed extension. Broadly, extensions and other buildings must not cover more than half the land around the original house. Existing outbuildings and additions therefore need to appear on the site plan. It is not simply a calculation of how much lawn remains behind the kitchen.
Exterior materials must generally be of similar appearance to those of the existing house, subject to the applicable provisions and exceptions. “Similar” concerns appearance, and the assessment should use a clear specification. A dramatic change of cladding proposed late in the project deserves review rather than being dismissed as a decorative choice.
Some associated works fall under other permitted development classes. Alterations to the original roof, new flues or other equipment should not be assumed to be included merely because they serve the extension. Your planning assessment needs to cover the complete package. Separate classes may provide a route, but their own conditions still matter.
Make a short schedule of extras beside the main drawings: rooflights, soil pipes, flues, raised decking, exterior steps, balconies or other features. Ask which are included in the assessment and whether any require another consent or application. A project described simply as “rear extension” can otherwise hide several small but consequential design decisions.
Design drawings should show how the project fits
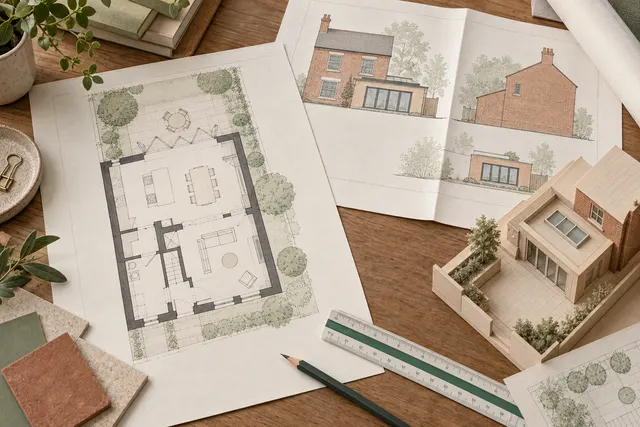
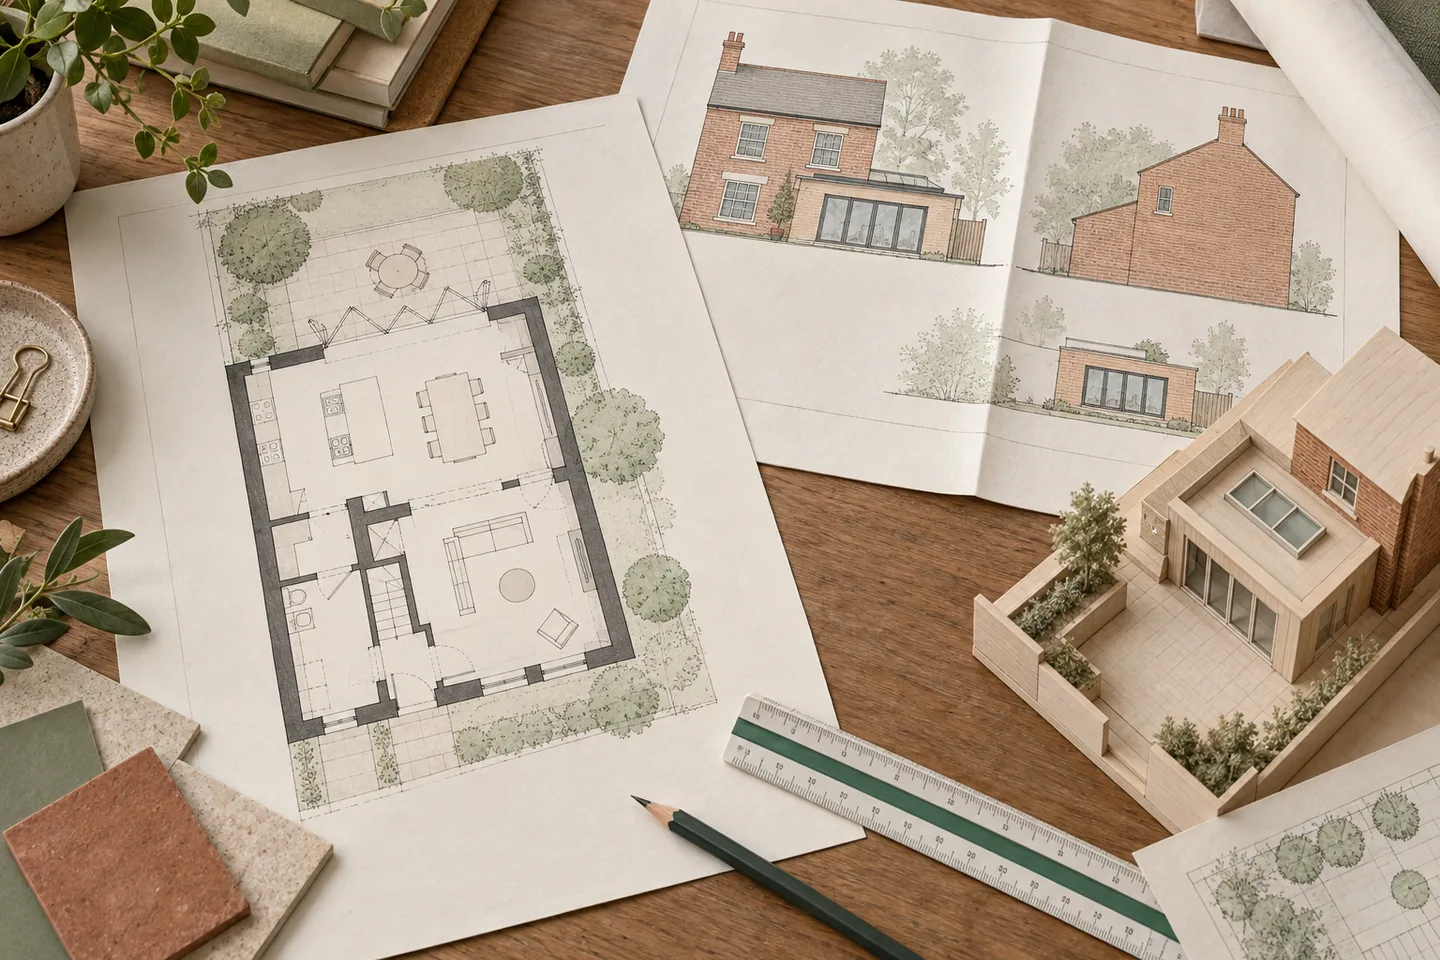
A useful permitted development drawing set makes the relevant measurements easy to find. It should distinguish existing and proposed views, identify the original building where needed, and show relationships to boundaries. A perspective rendering can explain the appearance, but the legal assessment needs the dimensioned plans, elevations and sections.
Ask for a compliance note that references the drawings rather than repeating a generic checklist. For example, the rear projection entry should identify the original rear wall and the dimension shown on the plan. A roof-height entry should identify the section and the relevant level. This helps reveal missing information before the application or construction stage.
Our drawing guide explains how to compare views and revisions. Use it when reviewing the pack with your designer. Check that a dimension updated on the plan has also been reflected in elevations and the supporting statement. Inconsistent documents can create avoidable uncertainty even where the intended design is straightforward.
If you seek a proposed lawful development certificate, it will concern the defined scheme. Keep a copy of the certified drawings and reassess changes before work. A different roof height or projection should not slip through simply because the contractor’s version has a later revision letter.
A worked example: choosing between two kitchen layouts
Imagine a fictional semi-detached house with a cramped kitchen and a dining room that rarely gets used. The first design pushes far into the garden. A second design extends less but removes an internal dividing wall and moves a doorway. The household’s goal is a workable kitchen and somewhere to eat together, not a particular number of metres.
The designer sets out the likely planning route for each option after checking the original house and constraints. One may sit within ordinary permitted development limits; the deeper option may need the larger extension process or a householder application, depending on the full scheme and property. Those routes are explained alongside the design, not used as substitutes for it.
The owners then compare where the table fits, how daylight reaches the existing rooms, how the garden door opens and where services must move. They ask the structural engineer about the internal opening and obtain budget estimates based on comparable specifications. A smaller footprint might still involve substantial structural work; a larger footprint might reduce garden space without improving circulation.
The point of the exercise is to make the tradeoffs visible. Planning rights tell you which routes may be available. A good design conversation helps decide which available route produces a project worth building. Keep those questions connected while resisting the urge to make the maximum allowance the default brief.
Building regulations and neighbour matters still need attention
Permitted development is a planning route. Most house extensions also need building regulations approval, with requirements relating to structure, fire safety, thermal performance and other technical matters. The government building regulations overview is a starting point for arranging the appropriate process.
Discuss drainage and any public sewer issues early. Foundation positions, existing drains and inspection chambers can affect design and cost. Ask the relevant water company or adviser about any agreement needed for building over or near a sewer. Do not assume a planning conclusion resolves the engineering or ownership of the drainage network.
The Party Wall etc. Act may also be relevant to particular works close to neighbouring structures or boundaries. Obtain advice on the actual work and required process. Planning permission, permitted development and party wall procedures answer different questions; a friendly neighbour conversation is valuable but does not replace any formal step that applies.
For relations with neighbours, a clear drawing and realistic construction discussion are often more helpful than saying “we do not need permission”. Explain the proposed layout, likely access arrangements and who will handle practical issues. Avoid promising dates or methods before the contractor has confirmed them. Courtesy is useful throughout a project, even where it has no role in deciding the legal planning route.
Before you accept the builder’s quotation
Check that the quote references the current drawings and specification. If the builder has assumed a cheaper roof build-up, altered opening or different external material, return that change to the designer for review. Pricing and planning should describe the same scheme.
Identify who is handling any prior approval or certificate application, building control submission, structural design and condition or notice requirements. Ask for the programme to show those dependencies. A start date in a quotation should be conditional on the approvals and preparations the project actually needs.
Keep a short decisions log for design changes during construction. Record what changed, who assessed it and which drawing supersedes the earlier version. This is particularly useful when a practical site discovery forces an adjustment to a wall, roof or window. An apparently minor change may be easy to approve or redesign, but it needs to be noticed first.
When the work is complete, retain the planning evidence, approved or certified drawings, building control documents and relevant warranties together. Those records will help explain the project at a future sale. They are also useful immediately if a later contractor needs to know where a drain runs or why a particular window was specified.
- Confirm the house qualifies for the rights being relied on.
- Establish original walls and previous additions.
- Check all relevant Class A limitations and conditions.
- Include roof alterations, services and other associated works.
- Complete any required prior approval process before starting.
- Keep the construction package aligned with assessed drawings.
Sources & scope
Official sources checked on . Examples with named householders are fictional scenarios.
The procedural guidance in this article applies to England. Scotland, Wales and Northern Ireland have their own planning systems. For a decision about your own project, check the current official guidance and the council record.